
The Realme 3 is the successor to the Realme 2 and features an updated design unibody design, with a dewdrop notch. The 6.2-inch display still has an HD+ resolution, which is a little low for this price segment but it produces good colours and is legible under sunlight. It also supports two Nano SIM cards with Dual VoLTE and a separate slot for a microSD card. The phone is powered by a MediaTek Helio P70 SoC, which delivers good app and gaming performance. We didn’t notice any overheating issues either. ColorOS 6.0 is based on Android 9 Pie, which looks slick compared to previous offerings. The rear 13-megapixel camera sadly, isn’t a consistent performer and struggles in low-light. The new Nightscape and Chroma Boost feature do their job well. The selfie camera is also quite average at best. The 4230mAh battery didn’t fare too well in our battery loop test but does last a full day on one charge. The Realme 3 is a decent upgrade but at this price, we think you’d be better off with the Realme U1 or even the Redmi Note 7 by Xiaomi, for a bit more money.

Camera Specification
The Realme 3 retains the 13-megapixel and 2-megapixel rear camera setup of the Realme 2 (Review), however the primary sensor has been improved and the lens now has a f/1.8 aperture. The second sensor is only used for depth calculation when shooting in Portrait mode.
What is Google Camera (Gcam)!
If you’re a mobile photography lover then you should know about the GCam app. But if you don’t know, then the Google Camera app offers plenty of useful features like Portrait mode, AR Stickers, Google Lens suggestion, PhotoSphere, Lens Blur, Night Sight, HDR+ enhanced, RAW image support, and more. All of these features can also be found on other stock camera apps but they can’t be so effective when it comes to the performance.
The Google Camera app simply delivers the best in the class image and video quality even in low lighting conditions. The portrait mode, saturation level, brightness level, exposure, dynamic range, background blur effect with nice edge detection, etc are properly maintained on the images taken from the GCam app. Form the very first use, you can start noticing the difference.
Important Notes!
So, If you installed the APK and when you try to open it, it is not working? No problem, we have got you covered.
1. Check Camera2API support: Google Camera needs Camera2API support on your device to work properly. How to check if your phone has Camer2API support? Follow this guide: How To Check Camera2 API Support on Android? Find Out.
▼Download Google Camera (GCam)▼
(Please Try every APK file linked below)
GCam1 APK: Download
▼Video Instruction▼
(Please ignore config file if its not available in the download section)
Steps to Install Google Camera
1. Download the GCam APK file on your device from the link above.
2. Tap on the APK file > It may ask you to enable the Unknown Sources option at first.
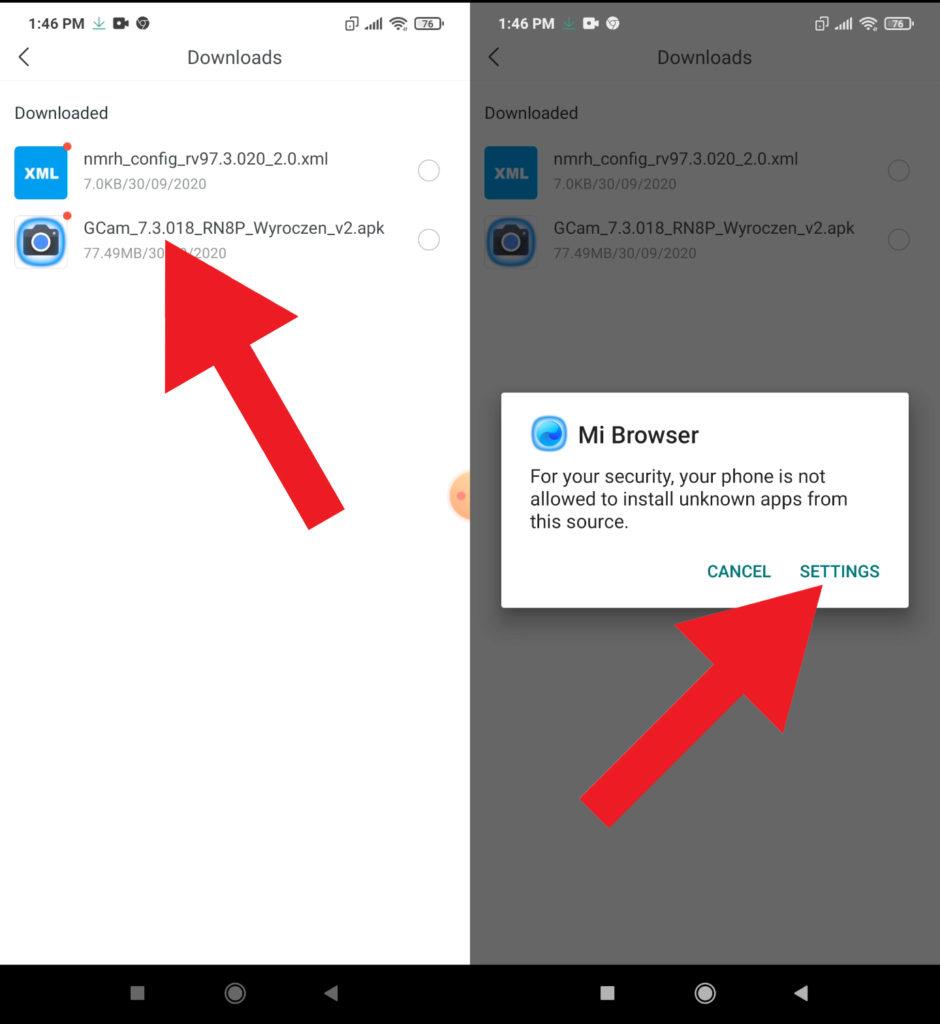
3. Go to the device Settings > Security or Privacy > Additional Settings.
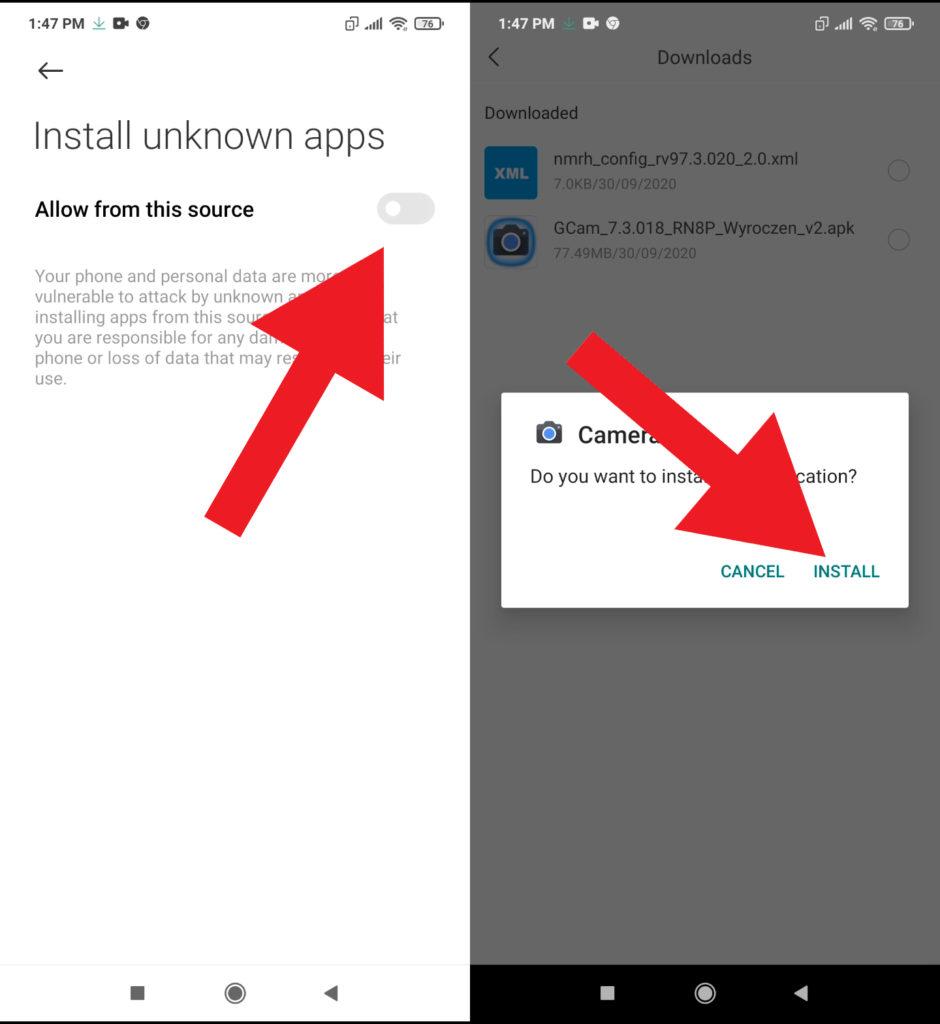
4. Once the Unknown Sources enabled, tap on the Install button.
5. Now, open the Google Camera app and allow some of the permissions.
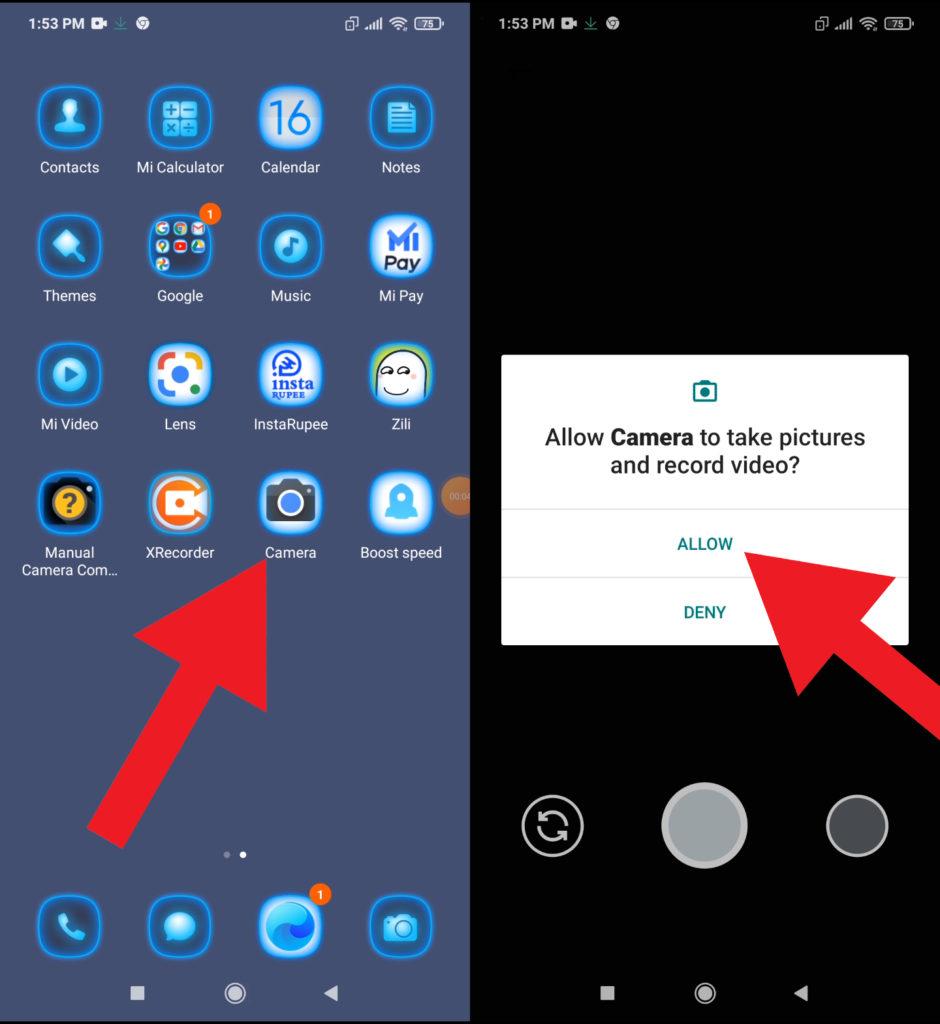
That’s it. You’re done.
So, there you have it from my side in this post. I hope you liked this post and were successful in installing the GCam or the Google Camera port for your smartphones. Let us know in the comments which features were far better with the GCam as compared to the stock camera application.